The 3 key phases of laying marble or natural stone tiles
03.2022
Discover our comprehensive guide with all the information you need to install natural stone tiles, from dry lay to gluing
Cutting and laying tiles
One of the key moments of any renovation, interior design or construction project is laying the floors. If the choice of material is natural stone tiles, there are a handful of particular rules and phases to respect to ensure the result is all that the client expects, both in terms of aesthetics and durability. The same principles also apply to walls if these are being tiled.
In this article, we take a look at the 3 main phases which are the dry lay, cutting and gluing, but before these are carried out, there is a preliminary phase that is checking that you have the correct materials and that your surfaces are ready to be tiled.

Preliminary steps to take before tile laying
Before even opening up their toolbox and getting down to work when they arrive at a work site, our master tilers first inspect the space they are going to be working in and check it against the layout plan provided by the interior designer. They then identify their starting point and take a close look at the tiles to ensure the dimensions, material and quantities are correct. If there are any issues at any point up till now, obviously the project manager or site manager will need to be informed so that problems can be resolved.
The starting point is particularly relevant because it sets the stage for the final result and helps avoid unnecessary cuts, oddly shaped first or last rows and problems with surfaces that are not perfectly square.
At this point it is also important to check the state of the floor and walls, ensuring they are clean, dry and perfectly level. For vertical surfaces, it is crucial that they are at 90 degrees and completely plumb. If we are talking about a plaster wall, ensure that it is smooth and free from any “knobbly” effect or granules. You will need to check that there are no dips or hollows in the surfaces and if there are any, you will need to correct them.
This is particularly important on floors which will be subject to foot traffic and heavy furniture. If the tiles are not laid on a solid, flat surface, there is the risk that they will break once force is applied to them.
With the preparation work done, it’s now time to get down to laying the tiles and that starts with a dry lay.
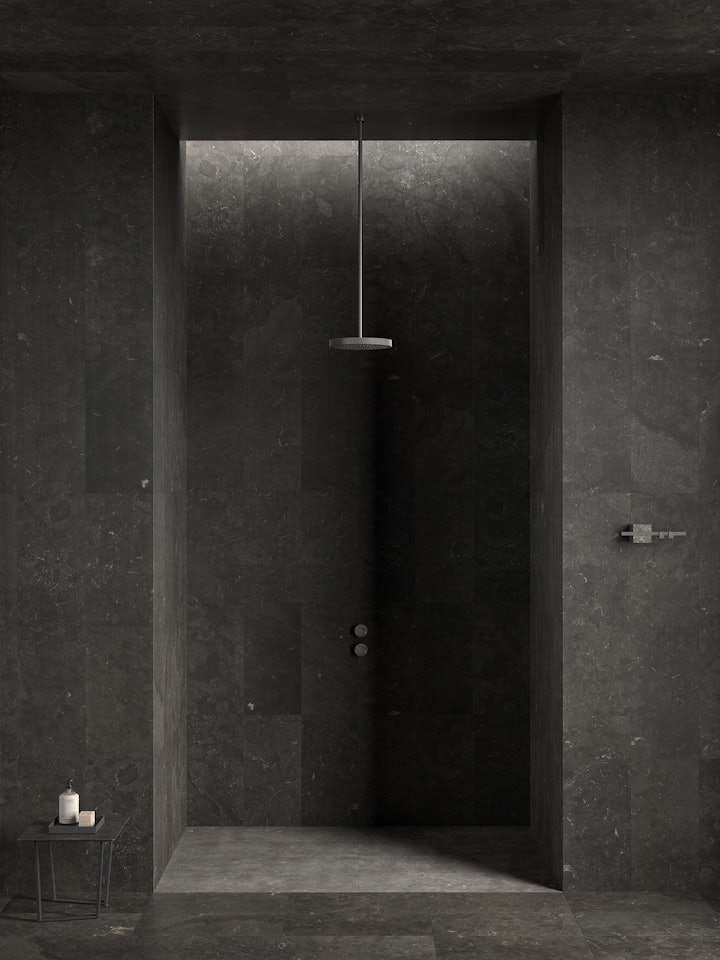
Why a dry lay is crucial in tile laying
If you are laying tiles, particularly using a high-value material such as marble or other types of natural stone, and are tempted to skip the dry lay phase, we would strongly suggest you think again. It is fundamental to ensuring the quality of your installation as well as delivering a final aesthetic that meets expectations.
As the name suggests, it means that you lay the tiles out before they are glued, so that you can optimise the positioning of certain tiles next to each other, or check the overall pattern. You could call it a dummy run or a rehearsal. It’s your last chance to spot any defects either in the quality of the tiles, the layout or your calculations and while it is a key step for any kind of tile, whether that be ceramic or stone, it is particularly important for the latter.
The reason for this is that stone is a natural material and every quarry, block and slab will contain unique characteristics, meaning that the tiles will also differ in terms of tonality and veining. The trick is to understand how to combine them to create a more gradual, cohesive effect and there is no better way to do this than via a dry lay.
Another advantage is that if the tiles have arrived slightly damp, which can happen due to water being used during the cutting process, this is an additional chance to ensure they are completely dry. This is important because laying damp tiles can lead to a less-than-optimal result.
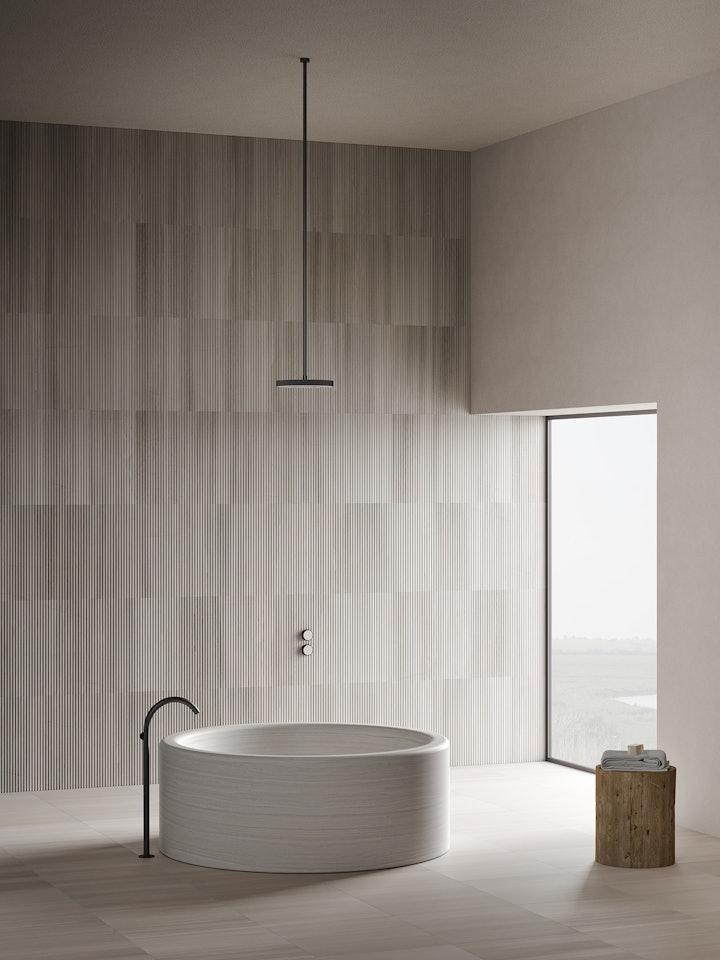
Dry laying tiles
A dry lay is not the easiest of operations but the time spent on it is a sound investment because it inevitably prevents errors that if made once the tiles are glued are costly to rectify. Master layers know how to select the right tile and find that winning combination that will deliver a harmonious result, whereas a random approach is not always pleasing on the eye. The order in which tiles are laid can lead to mixed results so it is important to have a clear picture of how it should look once laid and glued, so that you remember the exact layout.
What you are looking to create is a harmonious, gradual overall look so if, for any reason, you are not able to carry out a dry lay, we recommend that for each small area you are tiling, you use tiles from different boxes as this will help avoid concentrated tonal “blocks” which can have a jarring effect.
This is also the opportunity to see how the tiles, particularly if they are textured, interact with the light, whether that is natural or artificial, as this is an aspect that is important in many cases to bring out the potential of the finish.
At this point you will also identify where you need to cut tiles for a perfect fit, which leads us to the next phase.
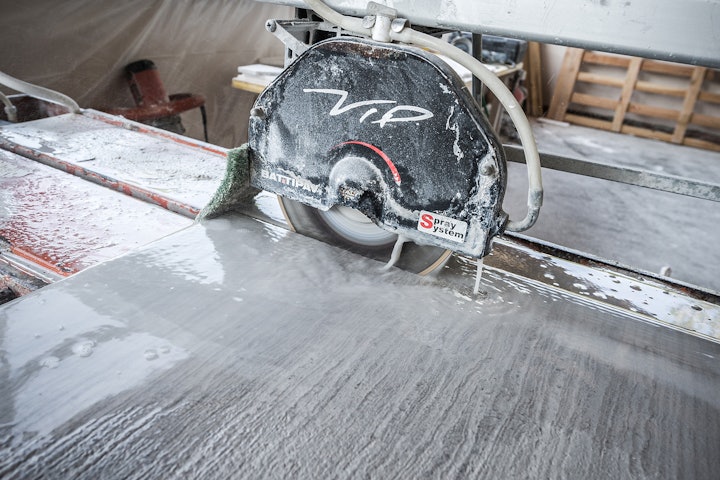
If you need to cut tiles
When tiling walls and floors, it’s common to have to cut some of the tiles because the maths simply don’t work out in nice easy whole numbers where the width or height of the surface divides perfectly by the dimensions of the tiles.
This needs to be carried out with care, using the right technique and equipment so that the lines are clean and precise. To create the cut, you should use either a dry angle grinder or wet circular saw, although we would recommend the latter because the water keeps the blade (which should ideally be of the diamond variety) cool, thus avoiding damage to either itself or the stone.
Make sure you choose a suitable surface to work on, and it goes without saying that this should be clean and dry. Any cutting should be done before the tile is laid so as to avoid the risk of damaging other tiles. If the cut is not made correctly, the tile may crack, break or chip.
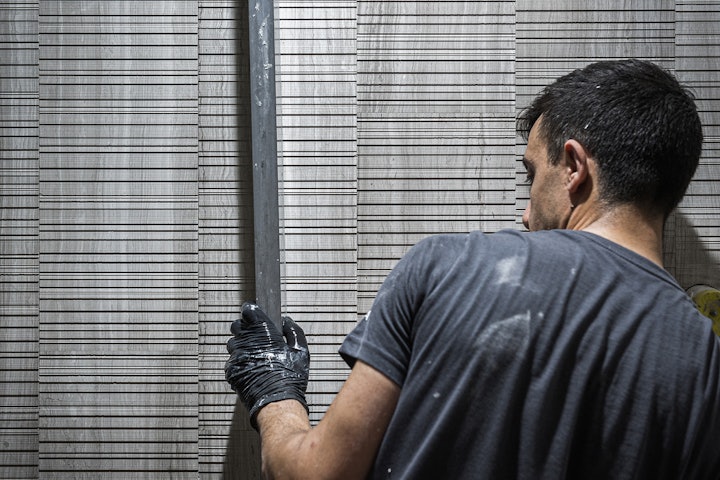
A final check before gluing your tiles
As mentioned above, key to the final result of a tiled wall or floor is the quality of the laying surface which is why, before laying your tiles, do a final check to ensure that the surface, whether vertical or horizontal, is smooth, level and completely free of dust. Once you’re happy with this, and the tiles have been cut and pretreated if necessary, it’s the moment of truth, or, if we want to be dramatic, the point of no return! We’re talking about glue, adhesive, thinset mortar, depending on local jargon and the type of surface you will be laying your tiles over.
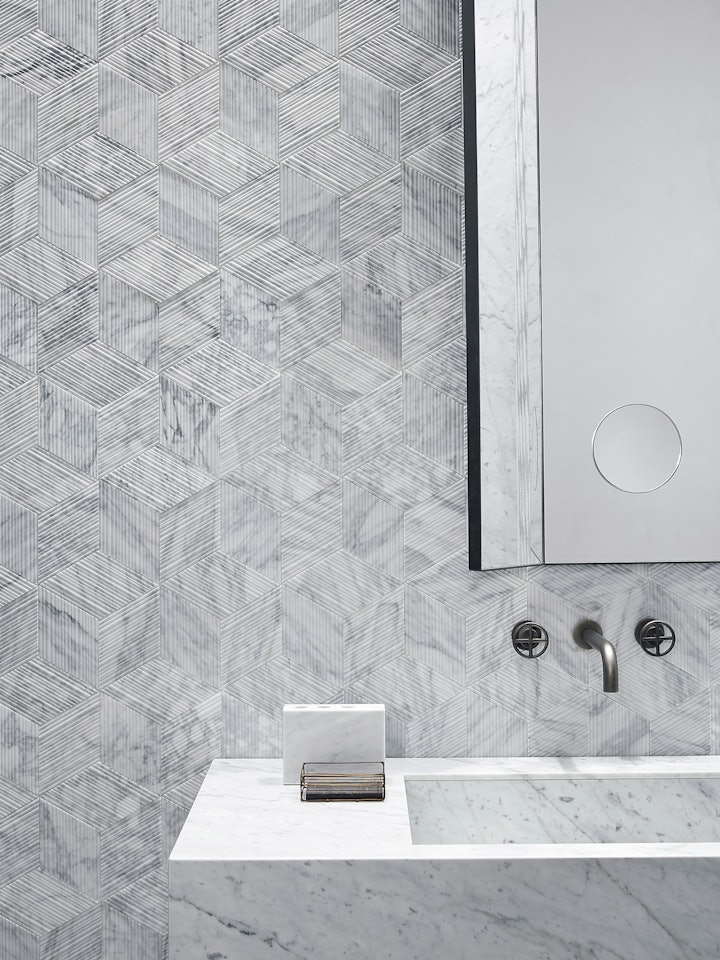
Key tips for gluing natural stone tiles
The type of adhesive you use will depend on the type of substrate involved and the nature of the tiles, as the right glue delivers greater adherence. Another key factor in ensuring its bonding properties and decreasing the likelihood of cracks forming over time in the tiles, is compactness.
When applying the adhesive, you need to make sure there is a liberal amount and there are no “hollows” or “bubbles” between tile and adhesive. It should be applied uniformly so that you don’t end up with areas where it is thicker, especially if the tile is particularly thin or brittle. By making sure you avoid such hollows, you are ensuring that the tile will better support any weight placed on it and also increase its hold in an outdoor environment or where it is frequently exposed to water.
Before you begin spreading the adhesive, it is a good idea to apply a thin coat to the back of the tile, using a minimum of product, but just enough to create a layer that almost acts as a primer, providing additional grip.
We recommend that the adhesive is applied both to the tile and the substrate, using a notched trowel. Again, we want to emphasise that the objective is to create a uniform, compact adhesive “bed”
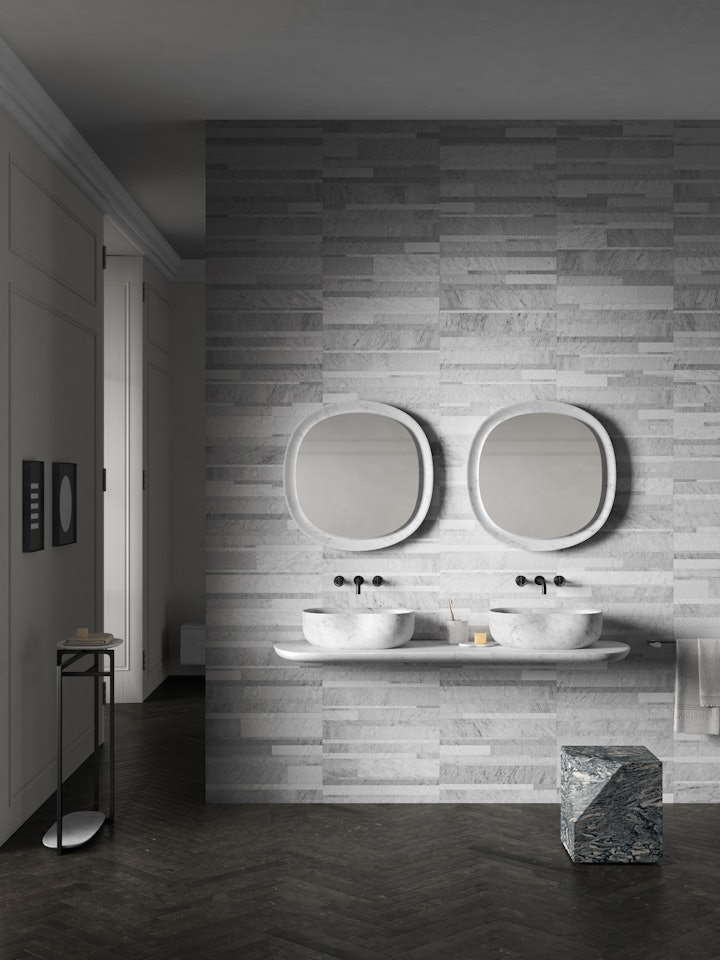
Additional techniques for gluing tiles
Apply the adhesive using an action that spreads it from short side to short side (if working with rectangular pieces) of the back of the tile, working in one direction only. Follow that same direction when applying the adhesive to the substrate so that there is no criss-cross effect which could lead to the formation of air bubbles, as this could compromise its hold.
Then, using your hands or a rubber mallet, even out the tile so that again, any air bubbles are removed. Because Salvatori tiles are usually laid with the absolute minimum joint possible, it is particularly important that the tiles are perfectly level with each other, as you do not have thick lines of grout to help disguise any irregularity.
If you are working with a substrate in materials such as plasterboard, concrete or brick, we recommend using two-component, highly deformable, quick-setting, cement-based adhesives with extended opening time and no vertical slippage, whereas for a wooden substrate, we use a two-component polyurethane adhesive. After working with them for many years, we are confident in recommending the Mapei range of products.
Laying marble or limestone tiles is a delicate process that requires skill, patience and meticulous attention to detail if you want to achieve a final result that such a beautiful material merits. Aspects such as creating chromatic harmony and considering how the light interacts with the surface make an enormous difference, and the dry lay is important here.
Cutting tiles correctly and using the correct technique for applying glue are also fundamental to a result that delivers on both aesthetics and usability.
Salvatori offers a range of packages to help ensure a successful outcome, including a dry lay service where one ne of our expert layers will number the tiles so that you essentially have a template of how to lay them to create the perfect aesthetic for your particular project. There’s another advantage to this service as it includes a preview in photographic form of the final effect, and this can be extremely useful to show to a client in advance.
To learn more about this and other installation services, simply send us a quick note or call us and we will be happy to answer any questions or provide laying advice.
