How to Install our Stone Parquet
03.2022
Installing Stone Parquet is easy, simply follow this guide we have compiled for you. Let's discover it together.
How to Install our Stone Parquet
For years we have been committed to making our products pleasing and functional. This commitment is also evident, above all, in our search for state-of-the-art installation methods. After all, excellence deserves precise rules, awareness of what you are doing, and conscious planning.
One of the products that best symbolises this dedication is the Stone Parquet finish. Its installation is simple, as long as you know the steps, characteristics, and requirements.
Let’s take a look together at all the information necessary to install our Stone Parquet: from the considerations to take into account before installation, right up to the final treatment.

Factors to consider before starting
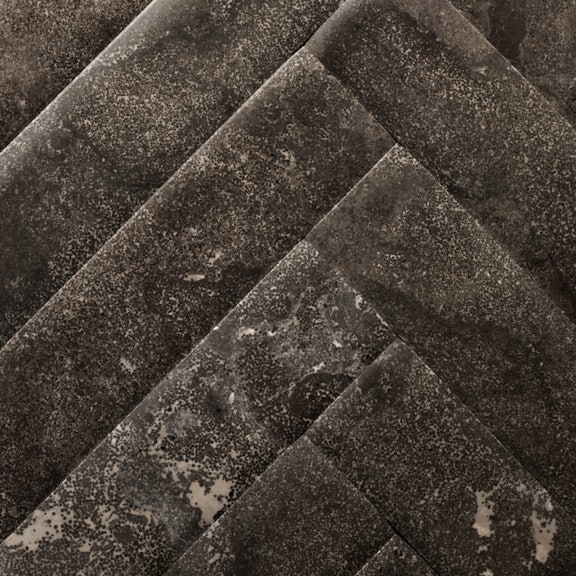
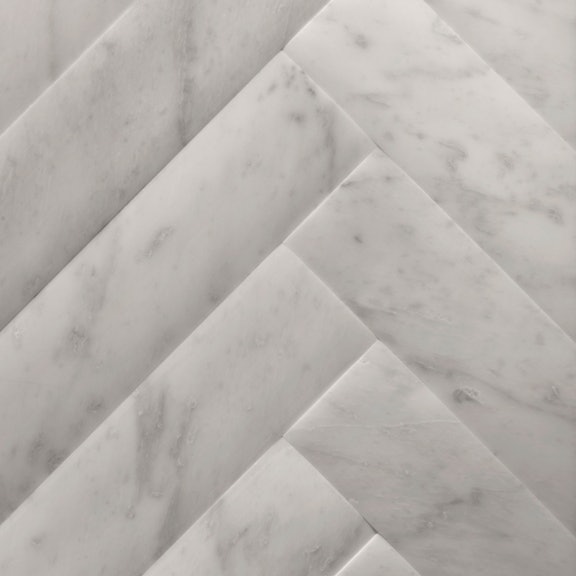
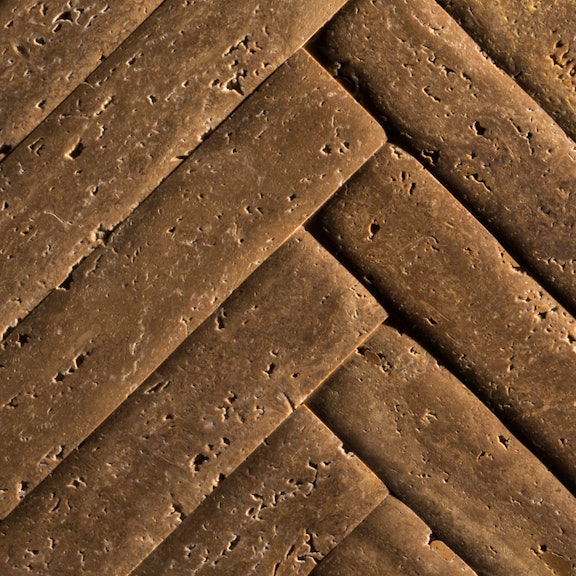
Even before starting the installation, there are a number of fundamental points to consider; first and foremost, the versatility of this texture. Stone Parquet is in fact available in four variants, and each of them has unique characteristics. Let’s start with Bianco Carrara, whose peculiar holes should be left open, highlighting this characteristic point, except in the case of environments in constant contact with water, such as the bathroom, where it is possible to fill them in. Pietra d’Avola, with its dark and warm colours, obtained thanks to the Fila StonePlus treatment, makes the texture visibly like wood, while the Crema d’Orcia version, with its saltiness and the presence of pinkish quartz, characterises the finish with a timeless class. Of the options on offer, Stone Parquet in Crema d’Orcia is the most absorbent, which is why we recommend prompt removal of the filler. The same applies to Imperiale, which, once grouted, will make the surface extremely uniform.

In addition to these specific recommendations, there are other more general – but no less important – factors to consider: before installation, it is necessary, for example, to check the good condition of the tiles and make sure that they are not too damp; if they are, they can be exposed to a direct source of heat for a few seconds to restore them to their original condition. Finally, it is also essential to ensure that all the tiles are handled with extreme care, as they are very heavy and incorrect handling can cause physical damage.
Now that we have outlined the general conditions of use for this finish, let’s take a closer look at how to install it.

Installation of Stone Parquet
The first thing to do when installing Stone Parquet is to choose the laying pattern. This can be orthogonal at more or less regular intervals, or in a herringbone pattern, and sets the rules for the entire installation, which involves dry laying of the tiles (according to the chosen pattern) and their subsequent fixing.
Since natural stone itself is a chromatically uneven material, dry laying becomes essential because it allows you to decide on the positioning of each individual tile and so create a pattern that makes the floor as uniform as possible in colour. It is dry laying that allows you to find the right compromise.
Once the tiles have been laid in the selected style, they are then pretreated using Fila PW10, a water-based protective product which is applied to the back of the tiles. After waiting 24 hours for it to dry, a thin layer of adhesive is applied to the laying surface using a notched trowel. Additional adhesive is then applied to the entire raw face of the tiles using a smooth trowel, also known as an American trowel.

The tiles are then glued to the surface and levelled off, either by hand or, even better, with a special rubber mallet. It is important to immediately remove any excess glue from the grout lines; once this is done, these grout lines and the entire surface of the tile can be grouted, taking care to remove the excess grout once it has dried.
The installation does not end with the laying of the tiles, but also includes the cleaning, which is done with a specific detergent, a brush, and a wet vacuum cleaner (or mop), so as to remove all the excess and then rinse safely.

Once the floor is dry (24-48 hours) the installation of the finish can be completed by applying a water-oil-repellent product so as to protect both the stone and the joint. Once this process is complete, all that remains is to wait another 24-48 hours for the floor to dry completely.
In order to ensure that your floor stays in good condition for a long time, it is not only necessary to install the floor as carefully as possible, following the instructions on the product packaging, but also to follow a few guidelines regarding maintenance and cleaning. For example, neutral detergents should always be used (aggressive products could permanently damage the stone), and it is advisable to avoid placing hot objects directly on the surface, as they could leave stains or cause discolouration.
