All you need to know about partition and false stud walls
03.2022
All you need to know about partition and false stud walls to achieve your goals
Drywall, plasterboard and wood are becoming increasingly popular in the construction industry because of the many advantages they have over more traditional techniques, particularly their versatility and lightness. In this article, we’ll take a look at how they can be used for creating partition and stud walls, but let’s take a quick look at just what makes these materials so useful.
Advantages
The most common advantages are
- One of their winning factors is speed, as without the need to wait for plaster, cement or grout to dry, there is substantial time saving.
- They also offer plenty of flexibility, allowing you to create different thicknesses and select solutions based on need and wall dimensions. You can create customised spaces, rooms, loadbearing walls and panelling for projects ranging from commercial offices to private residences.
- The lightweight structures allow an architect to make the most of interior space without compromising structural integrity, which is a key aspect.
The cavity created between the interior casings of the studs not only allows electricians and plumbers an abundance of space for their wiring and tubing systems but is also ideal for filling with insulation material to improve both acoustics and heat retention.
Different countries, different formats
Different countries have different formats, but plasterboard is often found in sheets measuring approximately 120 cm wide with a typical length of 200 or 300 cm and a thickness of 1.2 cm. To make a wall in plasterboard, the sheets are fixed to a galvanised steel frame by means of numerous screws. The frame is fixed to the wall and ceiling using bolts and the appropriate noggins for the thickness of the wall. All elements used in creating this structure are in galvanised steel, from studs to cross beams, and with a thickness of just 0.6 – 0.8 mm, can easily be cut using a handsaw or tin snips.
To build a self-supporting plasterboard partition wall, you will usually install a U track securely fastened by expansion bolts, surrounding the perimeter of the wall or ceiling. C studs are inserted into the U track at intervals of 40, 50 or 60 cm, submultiples of the dimensions of the sheets, so that the joints between each sheet are always at the centre of a stud, thus creating a type of network that strengthens the wall. The metal frame is connected to the struts either in a single or double formation: in this case the studs are placed back to back or boxed to increase the wall’s compressive strength.
The same methodology can also be applied to wood, using a framework made from solid timber beams. The perimeter of the frame is attached to adjacent structural elements and then noggins and are fixed horizontally to the studs to create a sturdy support.
The 5 key steps in building a plasterboard wall
Having provided an outline of the principal elements required to create a plasterboard wall on both a galvanised steel and wooden framework, we can now take a look in greater detail at its construction.
- The first thing to do when preparing to erect a stud wall is accurately define the working space, ideally using a laser level to mark out guide lines on the floor and ceiling. These will become the definitive lines to follow scrupulously in the next phase.
- Once you have marked out your spaces, it’s time to move to the erection of the skeleton structure which will be either in metal or wood, as outlined above. This is composed of studs and tracks. The tracks are attached to the floor and ceiling by means of screws or bolts whilst the studs are inserted vertically into the tracks. Before fixing them in place, use a level to ensure they are plumb. If you want to avoid making holes in the floor, you may choose to use an adhesive strip to attach the track to the ground.
- When the skeleton frame is in place, you can start to add the plasterboard panels, and here you can choose between vertical and horizontal installation. If you want to increase the sturdiness of the wall, you can select a large U track or you can use a double sheet of plasterboard on each side.
- Now that the plasterboard sheets have been fixed in place, apply scrim tape between the joints to help prevent cracks appearing. The joins between panels on each side should be staggered. In our specific case, given that most structures will be covered with our tiles, this step is not necessary.
- Finally, you apply plaster skim, ideally two coats in line with best practice. It’s important to check there are no areas that could lead to potential cracking and the skim should be applied to the entire sheet to create a uniform surface that hides the joints between panels.
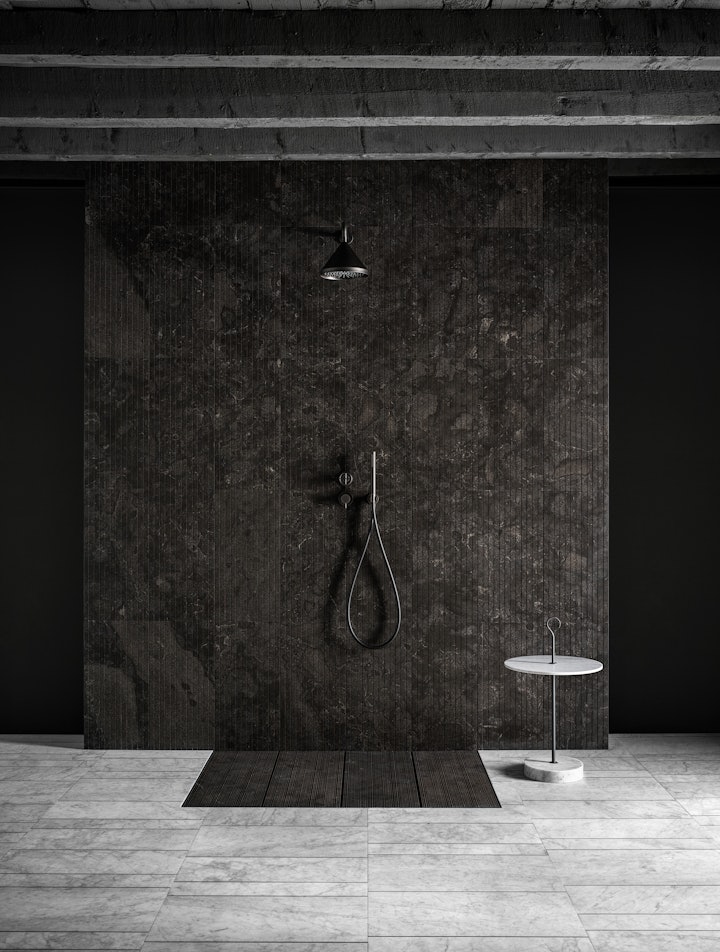
False stud walls
This same procedure can also be followed for false stud walls. While they don’t necessarily need to be loadbearing, they still need to comply with various design requirements, however their structure needs to be created on one side only, rather than both.
A false stud wall can be built on any type of support as long as you use appropriate panels and good technique. You can simply glue sheets of plasterboard to the existing wall, or you may instead choose to erect a self-supporting metal structure covered with panels.
There are a number of advanced technological yet simple-to-install options when it comes to designing and building these, depending on your needs, but the key thing is attention to detail at every step of the process. If you opt for gluing the sheets directly onto the wall, you will of course need to check that the existing surface is plumb.
In summary, a false stud wall can take the form of a metal frame attached to the wall, a self-supporting metal frame or simply as panels glued directly onto an existing wall. If the lateral edges are going to be visible (maybe because you are erecting the wall as a design feature) you can clad them with natural stone tiles cut with a mitre joint or you can add some sort of dark metal rim.
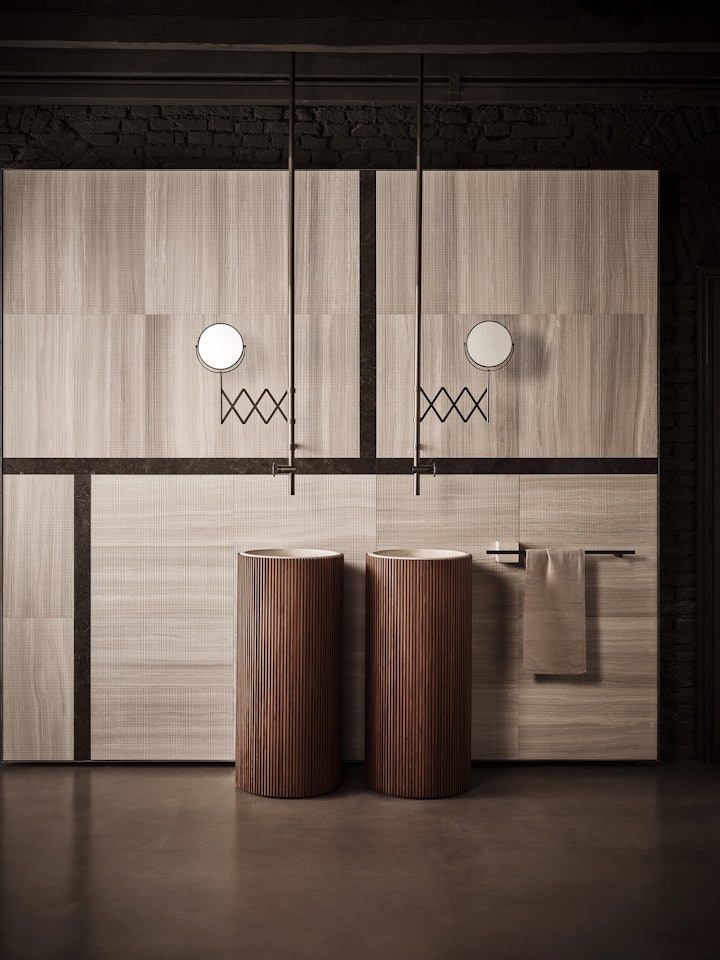
Wooden false stud walls
We will now take a look at a wooden false stud wall and, as the name suggests, here we are talking about a structure that is totally made from wood, with a subframe that is attached to the wall, obviously once everything has been adjusted to be plumb and level.
Chemical fixing threaded rods are used to attach the structure to the wall as they are fast-acting and provide an elevated level of safety. Once the subframe is in place, the main frame will be installed via a mechanical fixing system and then finetuned to ensure it is plumb.
The vertical frame is made up of a structure of struts and noggins or horizontal beams made from solid wood set at intervals of around 50 cm both in terms of height and width. Its purpose is to distribute the weight of the panels and structure down to the floor as well as bear the weight of any cladding or items that will later be attached.
Once the frame is in place, it’s time to attach the sheets of wood, usually some type of chipboard for greater stability, double-sided and placed at intervals of approximately 50 cm. To close off the sides, you may use L-shaped metal profiles to complete the effect of a wall hanging. These profiles generally have a thickness of 4 or 5 cm and cover both the sides of the frame and the stone cladding that will be also be attached to the surface.
