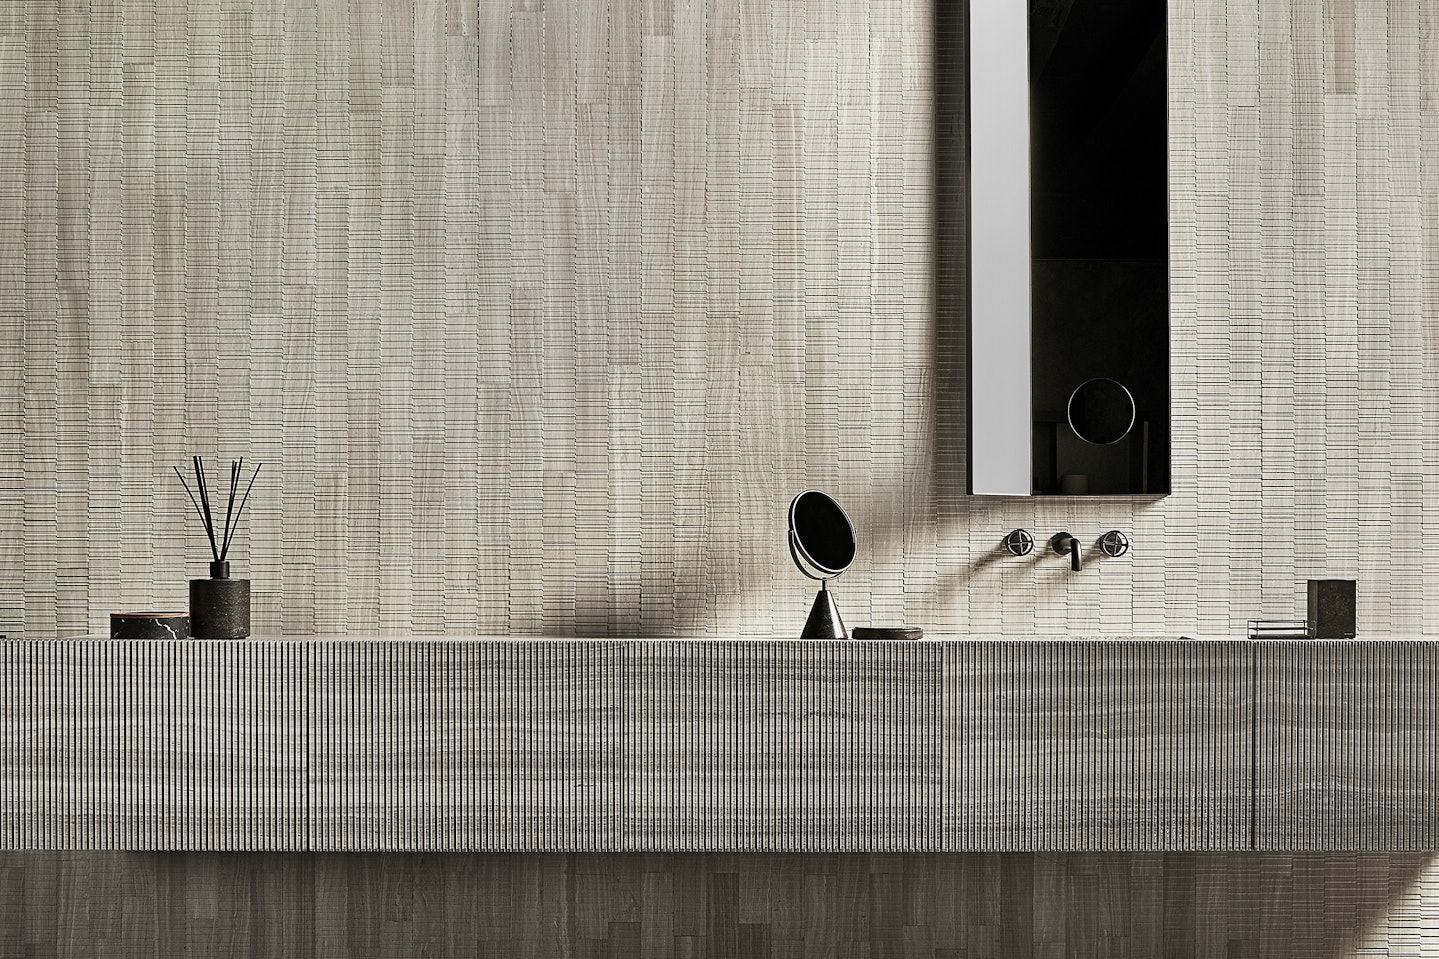
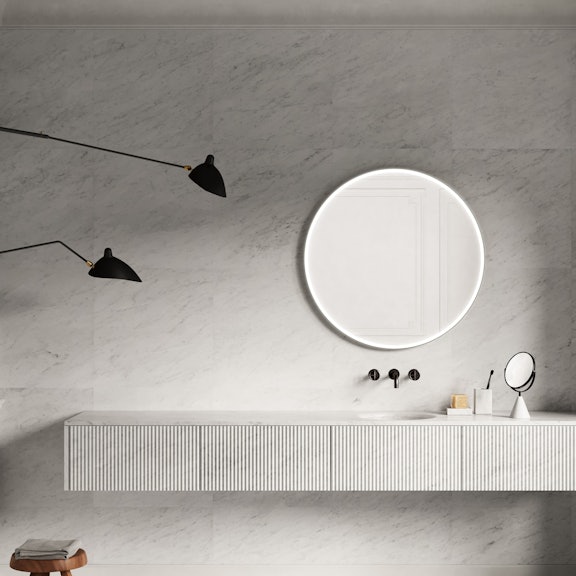
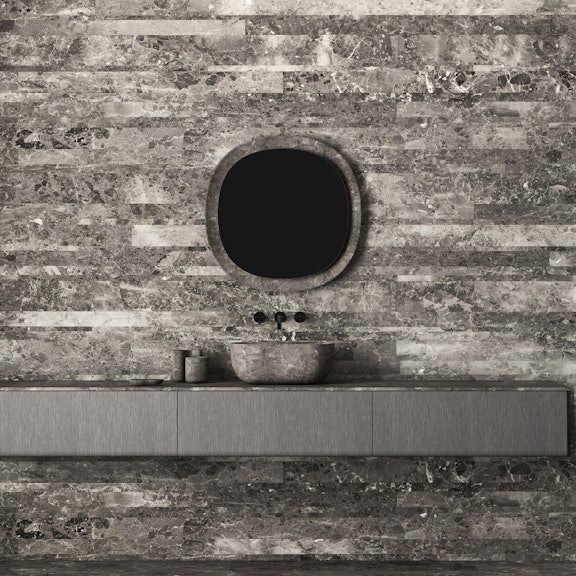
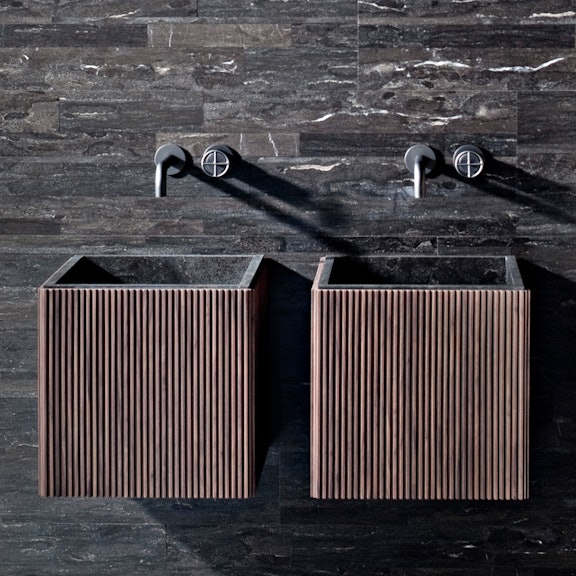
How to build a reinforced plasterboard wall to support a stone vanity unit
03.2022
We explain how you can ensure your partition wall is strong enough to support a beautiful wall-mounted basin or vanity in natural stone
All you need to know to build a loadbearing partition wall for a stone basin or vanity
You are in the midst of designing a new bathroom and you’ve found the perfect basin. It’s wall-mounted and you know that with its natural stone and Made in Italy design it will be the centrepiece, bringing the wow factor to a room which is often the last to receive any aesthetic attention.
To ensure it will create the effect you have in mind, however, you’ll need to think about more prosaic aspects. The first, fundamental thing is to ensure that the wall it will be mounted on is strong enough to support it. To help with this, we’ve put together an overview of the key steps to follow to create a loadbearing wall.
Before we launch into that however, just a quick clarification. There are a number of terms used around the world to describe the key material for creating a wall, such as gypsum, gyp board, drywall and so on, but we have chosen to use “plasterboard”.
_pda.jpg?fp-x=0.5&fp-y=0.5&auto=format&w=720&h=960&fm=jpeg&q=70&fit=crop)
Is a plasterboard wall strong enough to support a stone basin?
There is a certain tendency to think that a vanity unit or basin should only ever be fixed to a supporting wall rather than one made from plasterboard or drywall, but this is most definitely not the case. After all, many modern homes are designed using plasterboard walls to divide up the internal spaces, with supporting walls positioned only in critical structural points.
With a growing trend towards wall-mounted toilets and vanity units in the bathroom, it is simply a question of constructing a reinforced partition wall. No matter how heavy the sanitaryware that will be attached to it, there is a way to create a surface that will hold it by choosing an appropriate thickness and structure technique.
The addition of well-designed brackets will deliver a solution that can support wall-mounted items in any type of material, including natural stone.
So, if you have your heart set on a gorgeous piece of design for your bathroom, such as a Balnea basin by Elisa Ossino or something from the Anima collection by Yabu Pushelberg, you can rest assured that the lack of a supporting wall doesn’t matter. Simply read this article to find out all you need to know about building a partition wall that will be more than strong enough to support your beautiful basin.
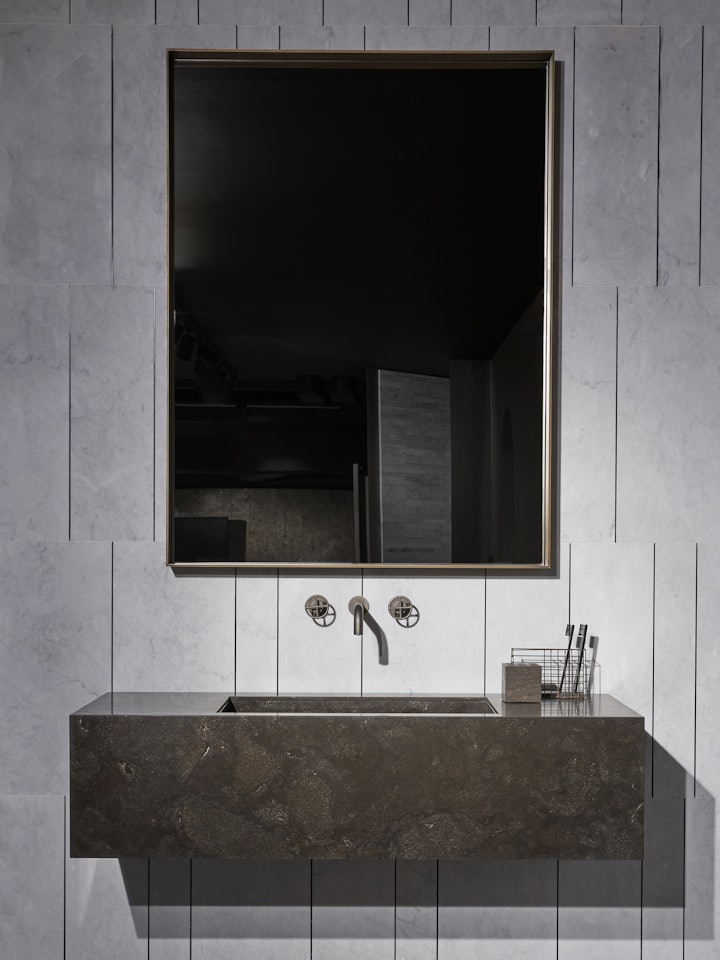
What you need to build a partition wall
We’ll start with a list of what you need to build a plasterboard internal wall:
- obviously, your basin, complete with all its plumbing-related accessories;
- drill;
- a selection of spanners;
- brackets:
- spirit level;
- silicone.
When it comes to being confident that a basin or any other heavy item of wall-mounted furniture will be secure, brackets play a key role. They are generally prefabricated elements in steel that will provide the necessary support for the product that is being attached to the wall and are screwed into the strut before the plasterboard panels are positioned.
Even if you are substituting a basin, you should still check the existing brackets before installing your new product. This is because it would be relatively unusual for both basins to have exactly the same layout. As such, you will need to drill the structure to create holes to receive the new brackets. You should also plug the old holes with cement or some sort of filler.
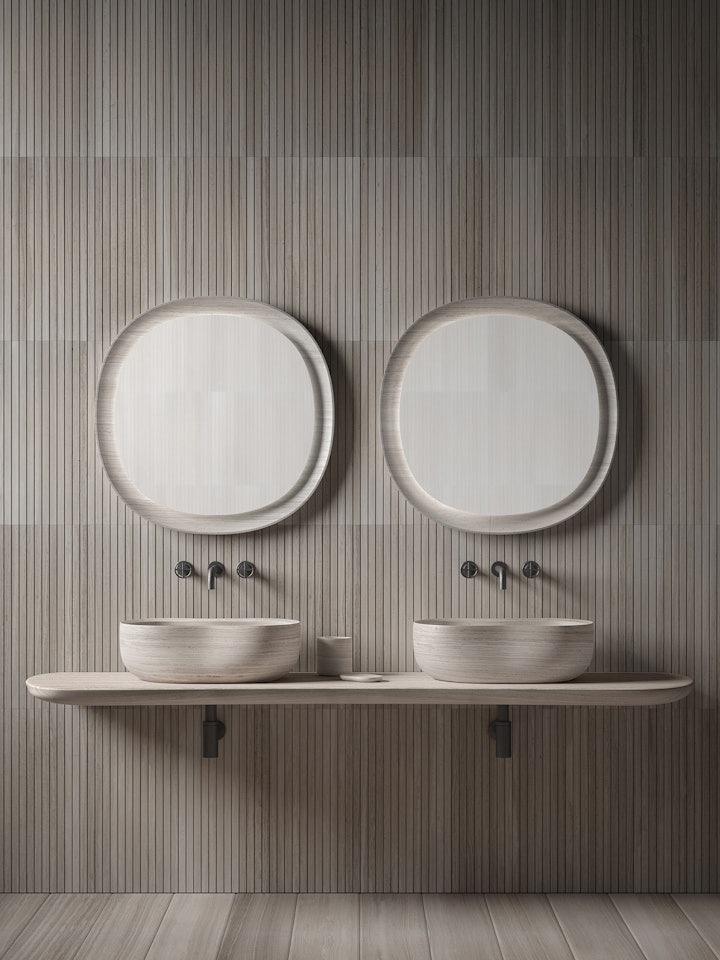
How to build a partition wall frame
A key step in preparing a plasterboard wall for a mounted vanity is to ensure that the frame of the wall are strong enough to support the weight.
Before you begin, you will need to decide upon the dimensions of the struts that will support the wall. These are generally available in a choice of 50, 75 and 100 mm and they determine the thickness of the final wall. The wider the struts, the fewer needed.
The frame may be in wood or metal, but we tend towards the latter because even though it is slightly less versatile to work with, it requires less material to deliver greater strength, making it more lightweight and cost-efficient.
The frame will consist of vertical struts and horizontal beams, placed so as to optimise the stability and strength of the wall which, even though it will be in plasterboard, will offer a similar level of support as any loadbearing wall. The struts are attached both to the ceiling and floor and the key thing here is to ensure that they line up with where you are going to place the basin so that the brackets can be attached to a solid surface. The last thing you want to find is that you go to insert screws and discover a hollow space.
Once this skeleton is in place, you have the basis for a solid wall that will be more than able to withstand the weight of a heavy stone basin.
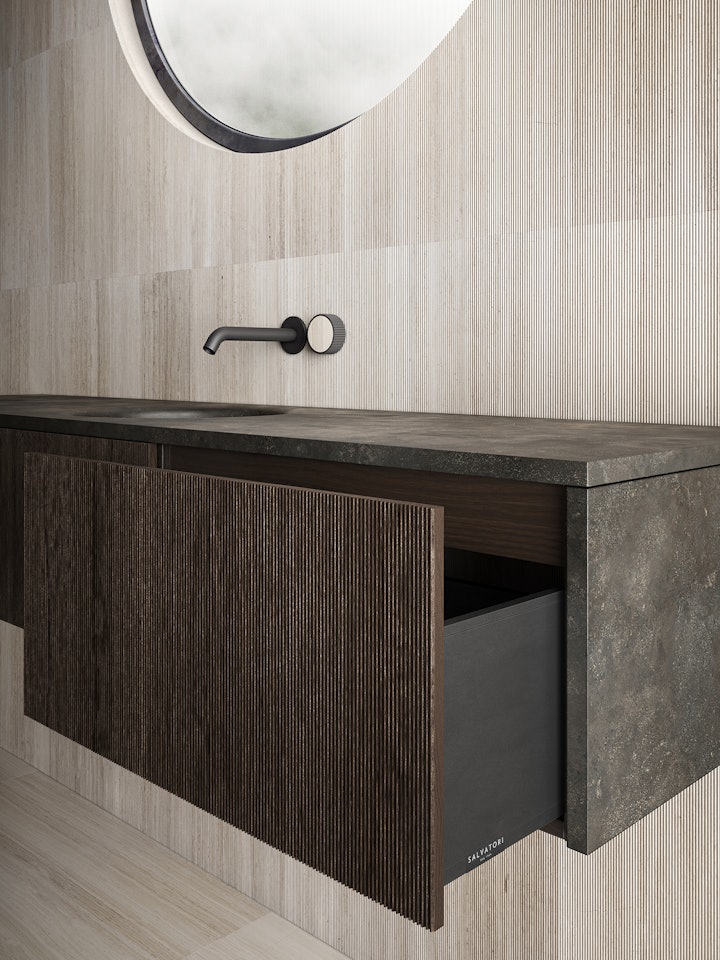
How to apply plasterboard to a partition wall
At this point, you can apply the sheets of plasterboard. Given that they are being installed in a room where they will inevitably be exposed to water and damp, you should opt for a moisture-resistant product or add a double 12.5-mm layer of polythene on both sides of the wall to increase its stability.
If you choose traditional sheet of plasterboard rather than a fibre cement variant, you will need to reinforce the lower part of the wall to ensure the struts are more robust and better equipped to support the basin.
We recommend you fill the cavity between the wall with a material with soundproofing properties. Once the plasterboard has been attached and covers the entire frame, you should ideally apply at least one coat of plaster skim. Here it’s important to check there are no areas that could lead to potential cracking and the skim should be applied to the entire sheet to create a uniform surface that hides the joints between panels.
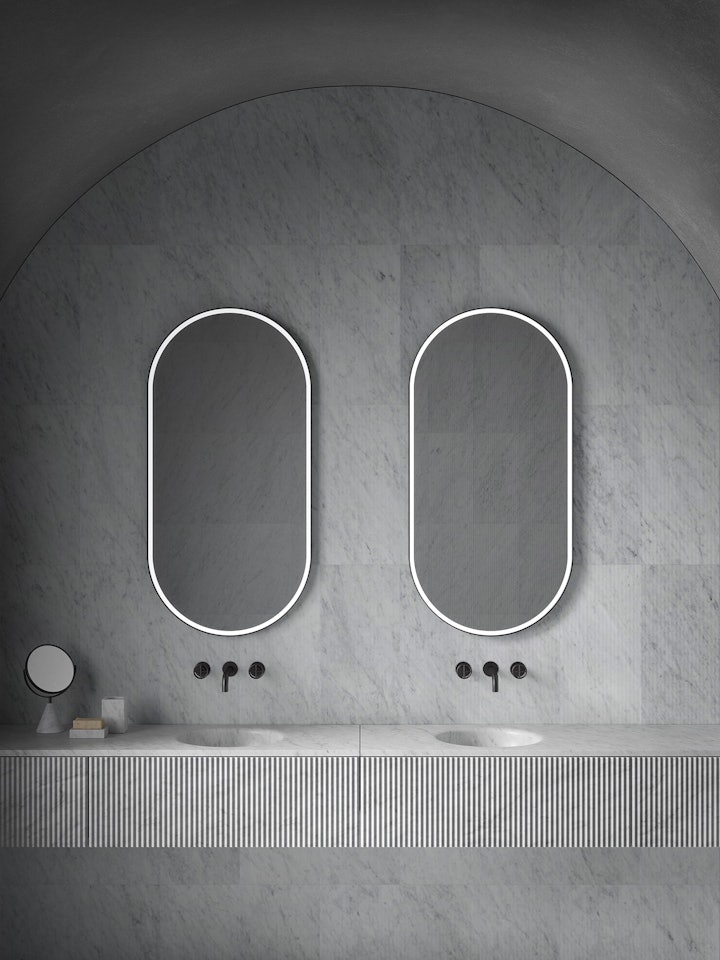
Installing a wall-mounted basin on a partition wall
Now that your plasterboard wall is ready, you can proceed to the final step and install your lovely stone basin or vanity unit, safe in the knowledge that it will be sturdy and stable.
Take care positioning the basin, making sure that the brackets find the struts rather than a cavity. Then you will need to attach the various plumbing accessories and use silicone to seal any necessary areas.
The brackets will play their part and ensure the vanity unit remains safe and steady for years to come. To finish the wall, we recommend one of our textures in natural stone, that are easily applied to a plasterboard wall. Then, all that remains is to enjoy your beautiful bathroom.
At Salvatori, we have been creating beautiful bathrooms in natural stone for many decades, designing solutions for homes and hotels all around the world. Our products not only reflect our ethos of understated elegance, but are also designed to stand up to the rigours of everyday use.
If you would like assistance in creating a dream bathroom, simply get in touch with us and we will organise a complimentary consultation with one of our experts.
